
In this lesson we will use the agent to build small farm modules and plant several different crops. You will need to create your own world to complete this lesson. I recommend using the flat grass template, but you might find that way too boring. You should also set it to creative mode.
You can read about the details of crop farming in Minecraft on this website:
We will utilise similar code from the rectangles lesson, but I have added some extra functions to help create our farms which will look like this:

- Wood planks: 10 x 7
- Dirt: 6 x 5
- Water: 1 x 1
- Glass: 1 x 5
To grow crops you must have a water source nearby which is why we have 2 troughs of water on either side. I cover it with glass so that things don’t fall into the water – I like it to stay nice and clean. There is another reason, but I’ll get to that in part 2. You also need to till the soil before you plant. The order this lesson will suggest to do things in is:
- Wood planks (rectangle outline)
- Dirt (rectangle filled)
- Water right side – the agent only needs to place water in 1 block to fill a trough
- Water left side
- Glass – left side
- Glass – right side
- Till soil
- Plant crops
The code I’m providing to you has 4 main functions and a few commands to get you started:
- rectangleOutline – similar to the one from a previous lesson, but I’ve added the inventory slot as an extra parameter
- rectangleFilled – similar to the one from a previous lesson, but I’ve added the inventory slot as an extra parameter
- tillDirt – this works similar to rectangleFilled but instead of placing blocks it tills dirt
- plantCrops – this uses inventory slots 1 – 5 to plant crops in a filled rectangular area
- Command – tpa – teleports agent to user location
- Command – L – turns agent to left
- Command – R – turns agent to right

To import the code I’ve prepared you must right-click this link and select ‘Copy Link Address’. If you’ve forgotten how to import code expand the section below.
Import code into code builder

Might also look like this:

Step 2: Click the Import button
This time we will import some code that I’ve already prepared for you. You will still need to some coding, but it will be to use and experiment with the code I’ve written to see what you can do with it.

Step 3: Click Import URL…
Right-click the ‘Code’ button below and select ‘Copy link address’ in the pop-up menu. Then click the ‘Import URL…’ option in Minecraft (as pictured).
Code
Step 4: Paste the address in the box
Click in the white text box and then press Ctrl-V (paste) to paste in the address from the code button in the previous step. You can also right click the text box and choose ‘Paste’.

Step 5: Go ahead!
Click the green ‘Go ahead!’ button to complete the import process. It should look similar to the picture here (not identical). If it doesn’t – did you forget to copy or paste in the address?
You must then complete the ‘make’ command to build your farm. It currently only has 1 block of code in it. You should end up with 16 before you do the challenge at the end:

You need to add the blocks to create the rectangles in the correct positions. Do not remove the first block.
Step 1 – Build border (1 code block)
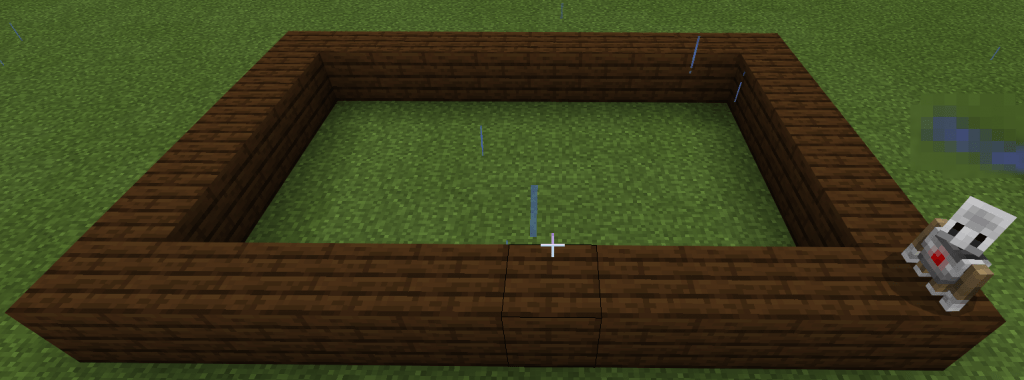
Step 1 is to build the wooden plank border around the farm. The code automatically gives your agent some planks in slot 27 so all you need to do is to add the function call to build the correct type and size rectangle. Notice how the agent ends up at the starting position of the rectangle. This step requires only 1 block and your make command should have 2 blocks by the end of this step.
Adding function calls to your code

To add function calls you first click the ‘Advanced’ menu and then ‘Functions’. You should see the list of 5 functions as pictured above.
Step 2 – Add dirt (3 code blocks)

This looks like 6 x 5 blocks of dirt
Step 2 is to build the rectangular area of dirt. Make sure you leave a gap on either side for the water source. After the agent builds a filled rectangle it also returns to the starting position. Can you see the difference in starting positions between step 1 and 2? You will need to move the agent forward (x2) and right before you build the dirt rectangle. It’s simpler if you don’t turn the agent. This step requires 3 blocks in total and your make command should end up with 5 in total.
Step 3 – Add water on both sides (4 code blocks)

Step 4 – Add glass on both sides (2 code blocks)

Step 5 – The other side (2 code blocks)

Step 6 – Tilling (2 code blocks)

Step 7 – Planting (1 code block)


Challenge 1 – Multiple farms (4 code blocks)
